If you own an inflatable boat in the Pacific Northwest, you may find yourself in need of a patch job at some point. The rocky beaches found in Puget Sound can wear on PVC or Hypalon boats causing anything from pin-hole leaks to gashes. Luckily, repairing inflatable tenders is relatively simple and can usually be accomplished on a budget and with minimal equipment.
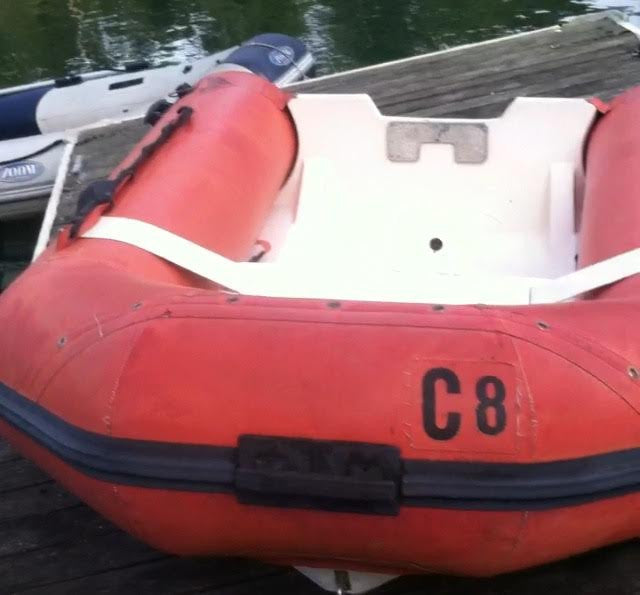
My patching project began when I purchased an older Caribe C8 Hypalon RIB (Rigid Inflatable Boat.) I was made aware by the seller prior to purchase that there was a rather large gash on the underside of the right pontoon.
Some things you will need!
- Hypalon or PVC specific glue
We sell Clifton brand glue, a 4oz kit is plenty for most repairs and costs $29.95 + tax for either material.
- PVC or Hypalon Fabric
We stock 6x18" sections of fabric available for $9.95 +tax
- "organic fiber brush" as per the instructions on the glue
Chip brushes are available for as little as $1.05 for the smallest size


Project Accessories to make your project easier!
- Marking tool for your template
- Scissors to cut out your patch
- Small mixing container if you want to save remaining glue
- Disposable gloves
- Respirator (glue is noxious stuff)
- MEK, Touline or a manufacturer recommended cleaner.
- Aggressive sand paper (120-220)
Procedure
- Begin by locating your leak. This can be accomplished by inflating the dingy and spraying a soapy water solution onto the suspected area. Look for soap bubbles forming over the leak. If you have an obvious gash or hole this may not be a necessary step. But while you are patching you may as well check for any other leaks that may have been compounding the more obvious problem.
- Mark the area to be repaired and leave a 1-2 inch buffer between the leak and the edge of your patch. Cut a piece of the Hypalon or PVC patch to fit over the affected area and double check for a good fit.
- Give both the surface of the patch and the dingy a light sanding to rough up the material. This will help give the glue more surface area to stick to.
- Clean the fabric using MEK, Touline or another manufacturer recommended Solvent and allow to dry completely.
- Clifton inflatable glues do not require a curing agent. However it is important to mix in the included UV resistant additive. Stir thoroughly for at least one minute.
- Begin by applying a thin layer of glue to both the surface of the patch and the dingy, let stand for 5-8 minutes or until tacky.
- Repeat application several times in this manor until there is some substantial buildup of glue on both surfaces. Note that the glue is going to seal the leak in your dingy and the patch only serves to protect the glue from the environment.
- Once your final layer of glue is tacky, marry the patch to the dingy; laying it on gradually from one end to the other.
- If possible, deflate the dingy completely and use substantial pressure over a hard surface to smooth out the patch and release any air pockets that may have formed. If there are any air pockets trapped it will substantially weaken your patch and may compromise the job.
- Allow 48 hours for the glue to dry before it gets wet, fully cures in 6 days.
The biggest mistakes that I made in this project were as follows;
Use plenty of glue in thin layers! The glue is going to seal the leak, not the Hypalon/PVC. The patch only serves to protect the glue from the elements.
Applying pressure to the patch and smoothing out the air bubbles is a critical step in the process. If air bubbles are trapped, the glue will not cure to form an airtight seal and you may wind up with a slow leaking patch job.
If you followed all of the instructions, congratulations! You should have a tender that holds air and cruises in style!