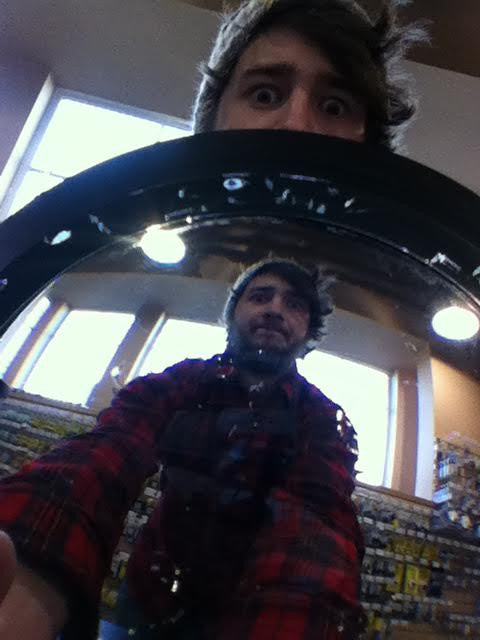
My boat came with a housing for a knot-meter installed in the cabin top, but no gadget to fill it. I recently broke the thin glass viewing window with my knee while hoisting. Instead of fixing the hole with fiberglass, resin and a lot of sanding; I have decided to install a Fish-Eye Cockpit Viewing Lens. The lens is something I picked up a long time ago at a thrift/pawn exchange, it is originally from a copy machine. The lens is about 1/2" thick along the edge of solid glass which will give me plenty of strength. .


I have decided to make a wooden mounting plate to hold the lens down and give me something to bed it into. I cut inside hole to roughly the right size with a manual coping saw and sanded with 50 grit wrapped wrapped around a hammer. I cut the outside edges with a wood saw and sanded the entire thing down with 120 grit. After several coats of varnish with sanding in between it is ready to mount!
I will be bedding the lens and the mount to the cabin with Life-Calk bedding compound. I chose this product because it is specifically recommended for glass, wood and fiberglass. The trade off is that it takes 7 days to fully cure, 4200 fast cure would have sped up the process but it is specifically NOT recommended for use on glass. I taped off the edge of the lens and the edge of the mounting plate with painters tape to keep it tidy. It is held in place to dry by a couple thin strips of wood shimmed with washers to keep it from slipping down the cabin, and by a suction cup from the inside to pull it against the boat.

The finished product came out very well. I did wind up getting some life calk on the mounting plate, with a little sanding and another coat of varnish it will look good as new. Next time I will tape off my entire project, no gaps.


